Click any image to enlarge
Over the past year or so I have looked at pretty much every marine barbecue available on the Australian market, and some from overseas too. Most of these barbecues were very nicely made, but I couldn’t justify paying over a thousand dollars for something as simplistic as a little stainless steel barbecue.
I doubt that anyone could convince me that what you get in a marine barbecue is equivalent to a similarly priced stainless home barbecue that you can get in any barbecue store. It is very sad that most things classified as “marine” cost considerably more than they are actually worth.

Although I would have preferred a nice, shiny stainless steel barbecue, I finally decided to buy a Weber Q220AU. This Weber is about a third the price of a similarly sized marine barbecue and parts for them can be obtained pretty much anywhere. It was a bit of a toss up between the Weber Q100EAU (Baby Q) and the Weber Q220AU, but in the end we figured that slightly bigger than you need is better than being too small. Both of these models have a higher lid with a built in thermometer, which is useful for baking.
One of the things that I have never really liked about the Weber Q’s is the amount of plastic they use. The little fold out tables at either end are quite flimsy and I would be hesitant in trusting them to support anything with any significant weight. The Weber Q320AU (Family Q) has a much better design for its fold out tables, but this has not been utilised on the smaller models, which is a pity. A potential issue with the Weber barbecue is its cast aluminium construction. I do not know how well this will stand up to the rigors of Australia’s corrugated roads.
Given that I obviously have some concerns with the Weber’s design, you might ask why I would choose to buy one for our camper.
Well, there’s two main reasons…
- The Webber barbecues have been proven to be very efficient. They cook well and don’t use too much gas.
- Seeing as how I am a Fitter… if I don’t like something, I can often redesign things to make them more appropriate for me.
…and that’s exactly what I did with the Weber.
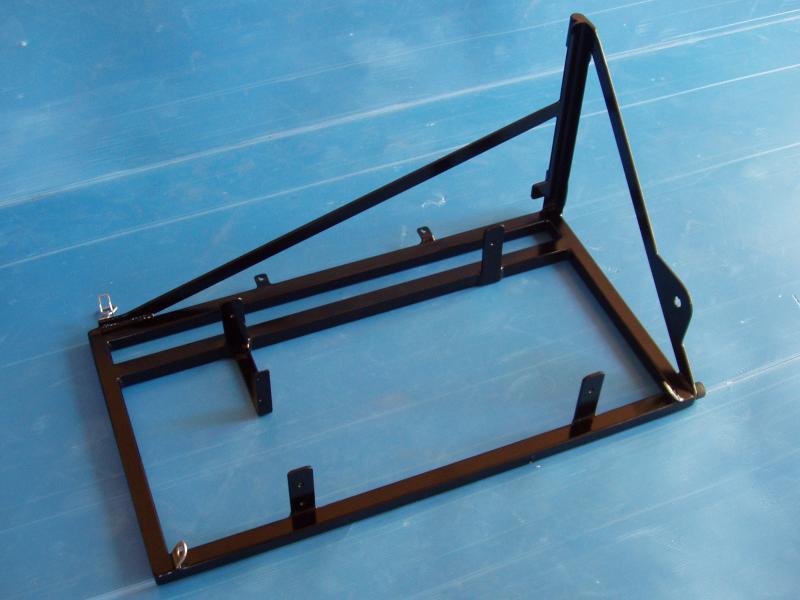
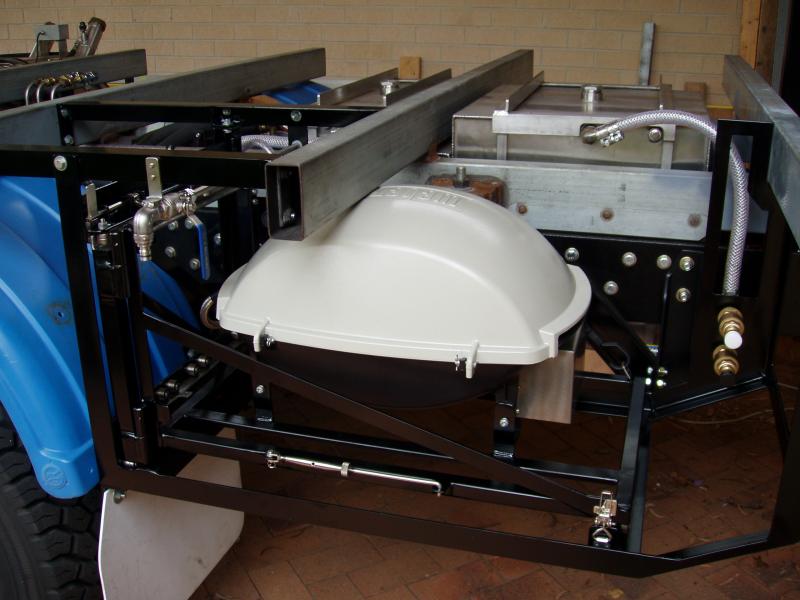
The first thing I did when I got the Weber home was to check how it fitted into the available space. Obviously, I had measured the space prior to buying the barbecue, but it never hurts to verify things. This confirmed that the height was fine but the Weber’s frame was a little long, which I knew it would be. The original swing out frame that I built for a pull out barbecue might have worked for the Weber, but after looking at it more closely I decided to scrap it and build a new “Weber specific” one. The design is basically the same, but I included my own mounts for the bottom half of the barbecue.
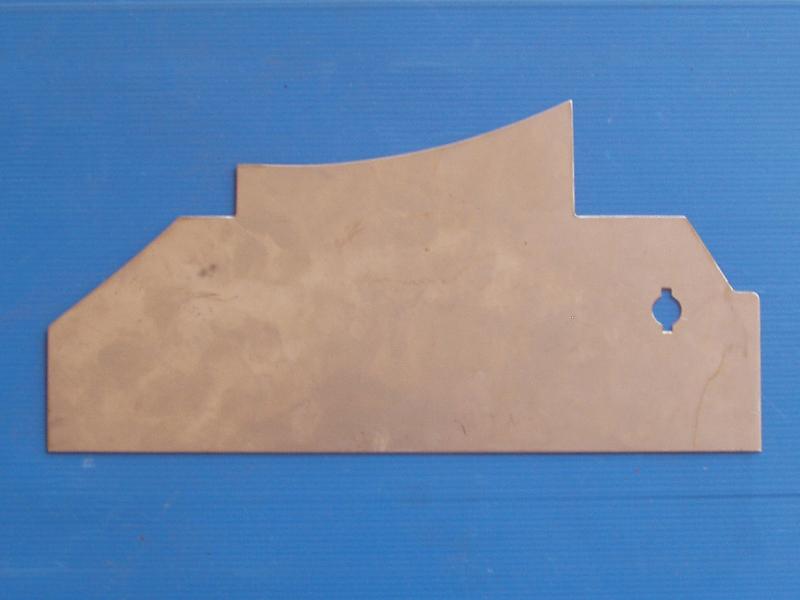
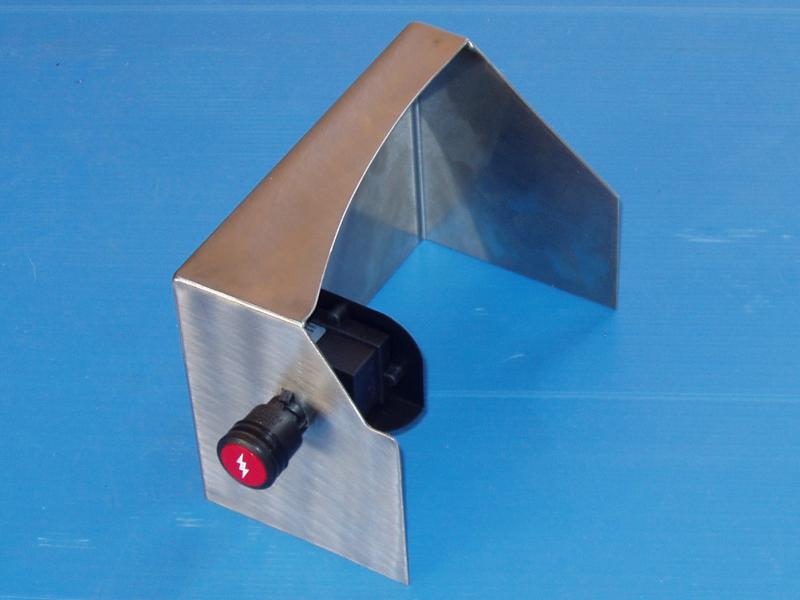
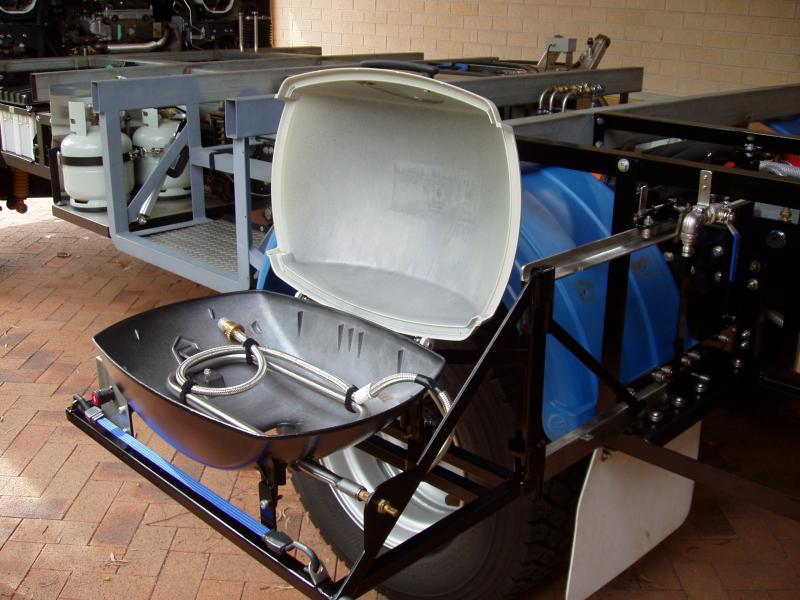
In the end I decided to discard all of the plastic components of the Weber. This decision involved creating new mountings for the burner control knob and piezo-electric starter into my design, as these components were housed in the Weber frame. The burner control was integrated into the swing out frame itself and I made a stainless steel housing to mount the piezo-electric starter. No modifications needed to be made to the Weber itself, which means that it is possible to reassemble the barbecue back to its original state.
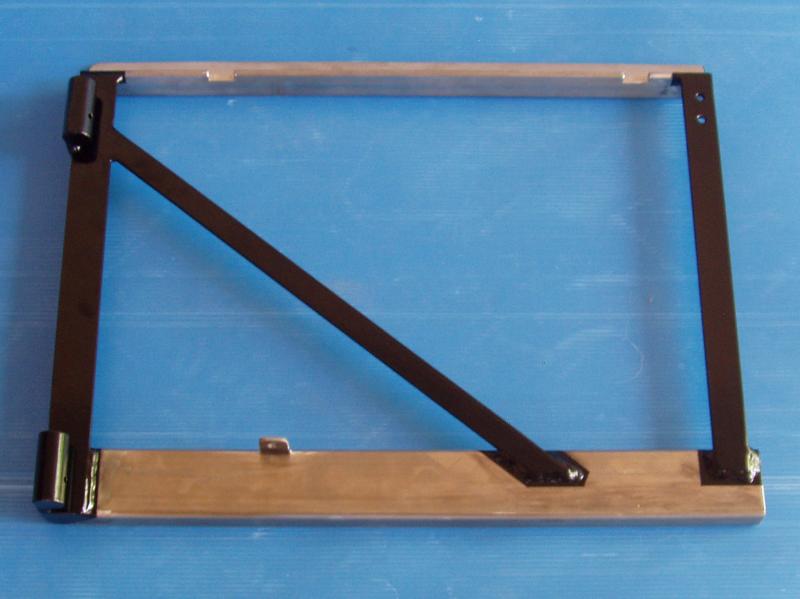
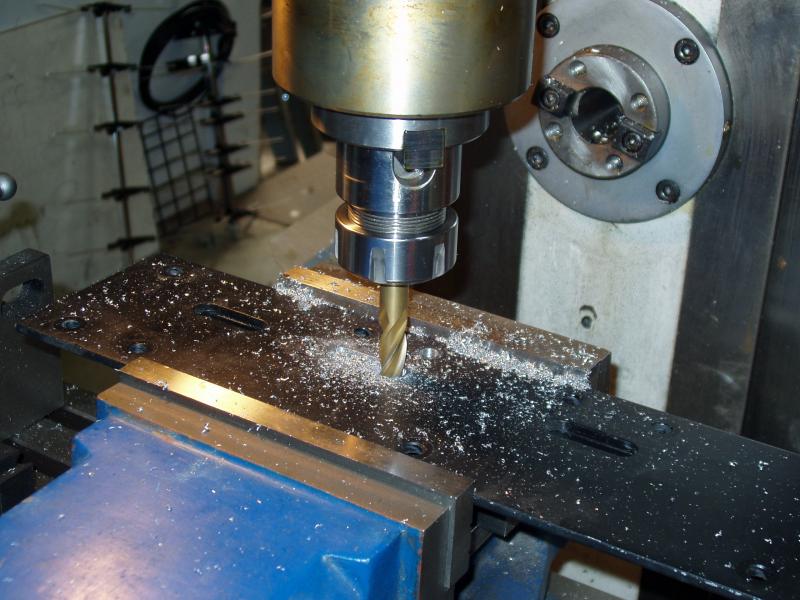
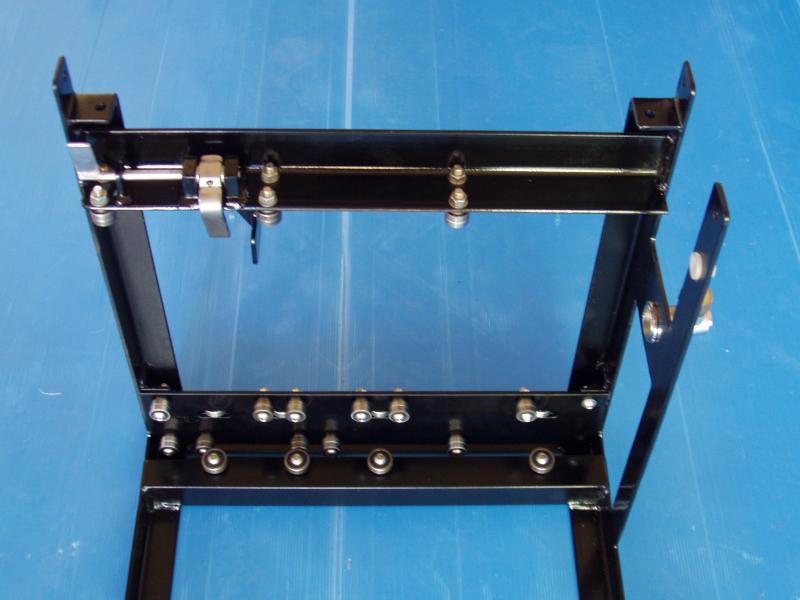
The original design for the slide-out section did not really allow the barbecue to come out far enough. Extending the slide-out distance was not a small job, but one that was necessary. I determined that trying to modify the original slide-out frame would be more difficult than rebuilding it, so a new frame was designed and built. This was a two part task, as the roller mechanism also had to be modified to get the desired range. Modifying the roller mechanism was a fairly simple task using a digital milling machine.
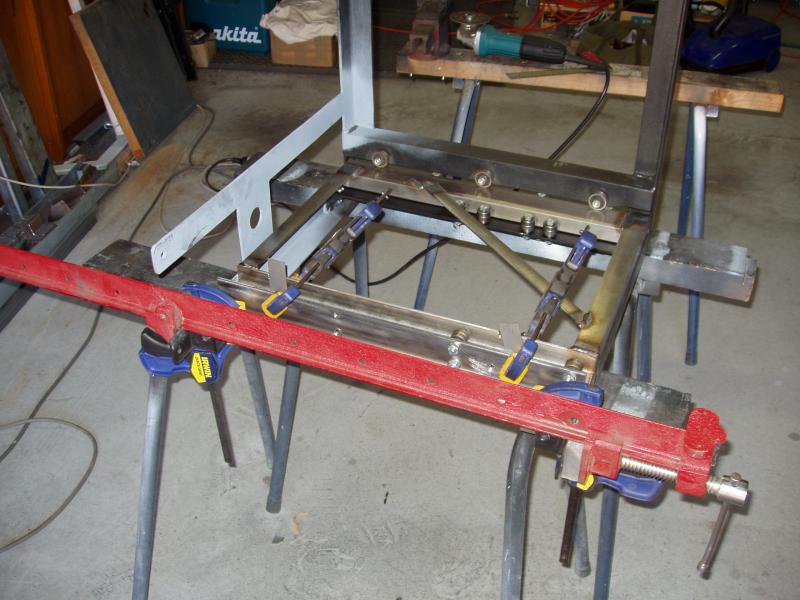
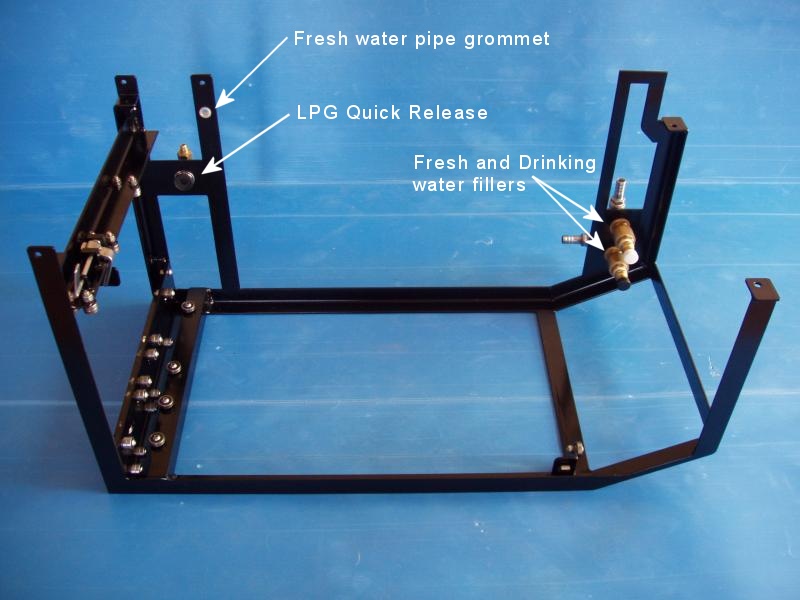
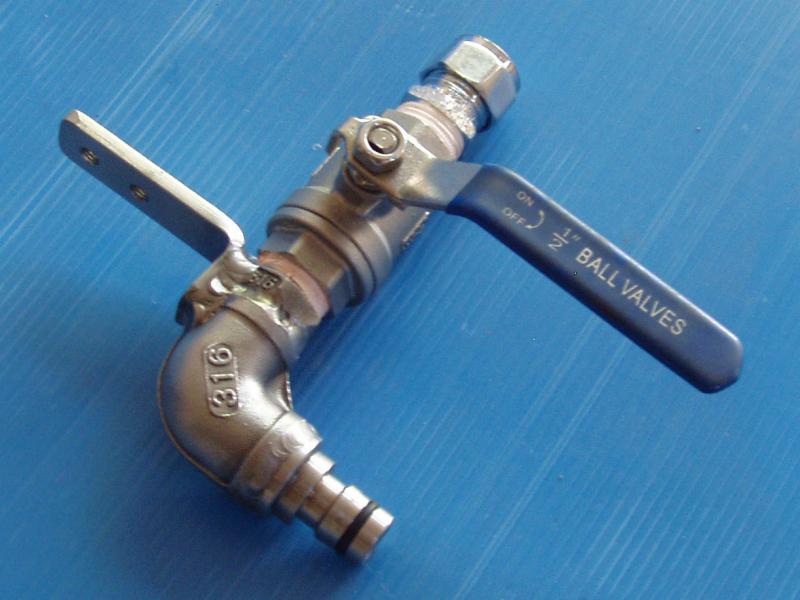
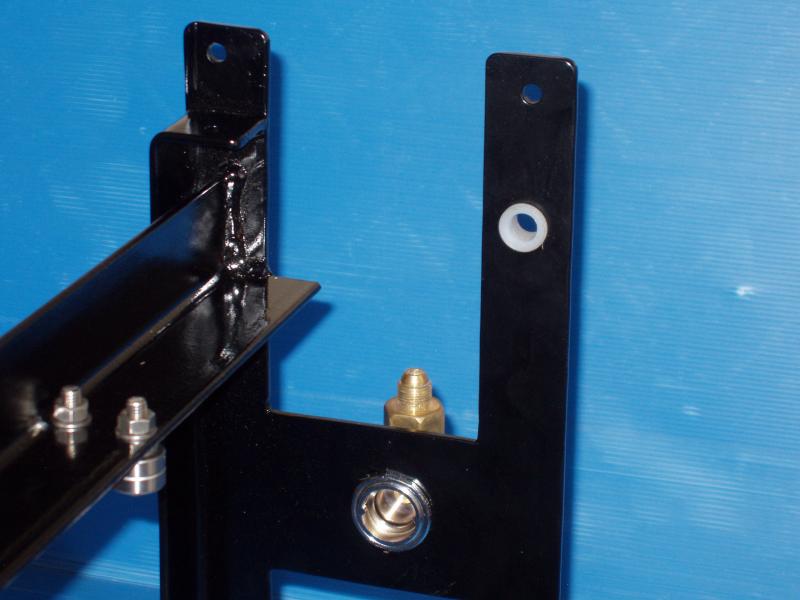
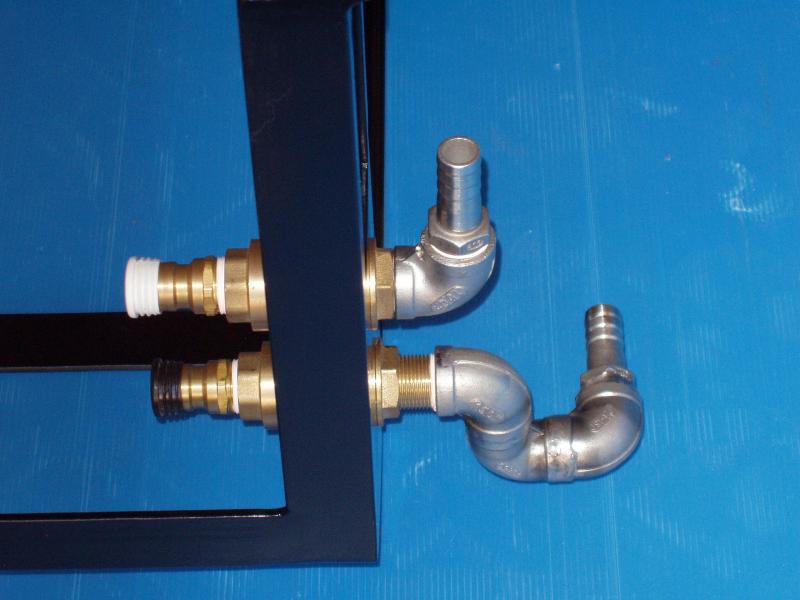
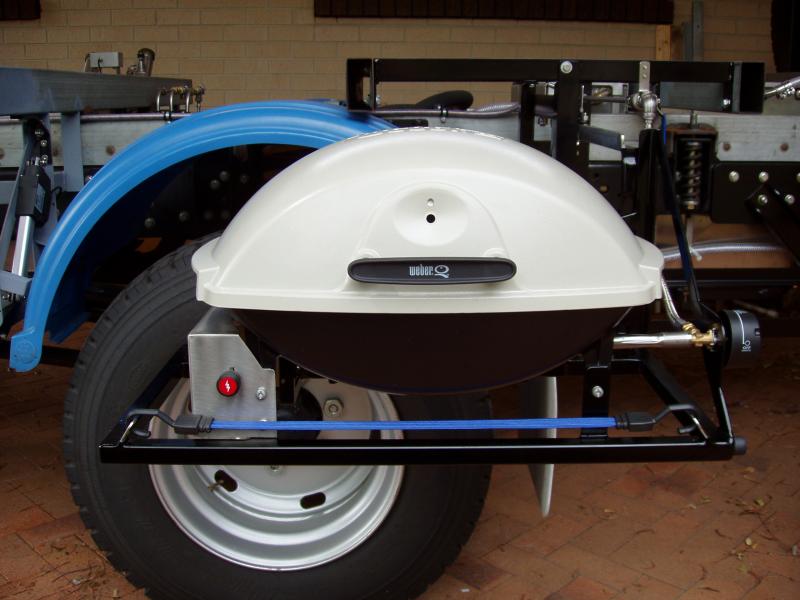
The main frame also needed some modification. The rail that contained the slide-out locking mechanism needed to be replaced. This was not an overly complicated task, but it did require some precision. All of the relevant components were fitted together, clamped into the correct position, then the rail was welded into the main frame. Additional sections were added to the rear of the frame. These housed the LPG quick release valve, water pipe grommet (for external tap) and fresh and drinking water filler nozzles.
In my original design I used standard bearings (608-2RS & 638-2RS) for the slide out system. Despite my best efforts, I was unable to find a way to stop the bearings from rusting. It was not a cheap option, but I decided to replace all of the standard bearings with stainless steel bearings. Given that the bearings in this application do not have to meet motor bearing specifications, I bought some stainless bearings with a lower ABEC rating directly from a factory in China. This worked out considerably cheaper than any other source I could find.
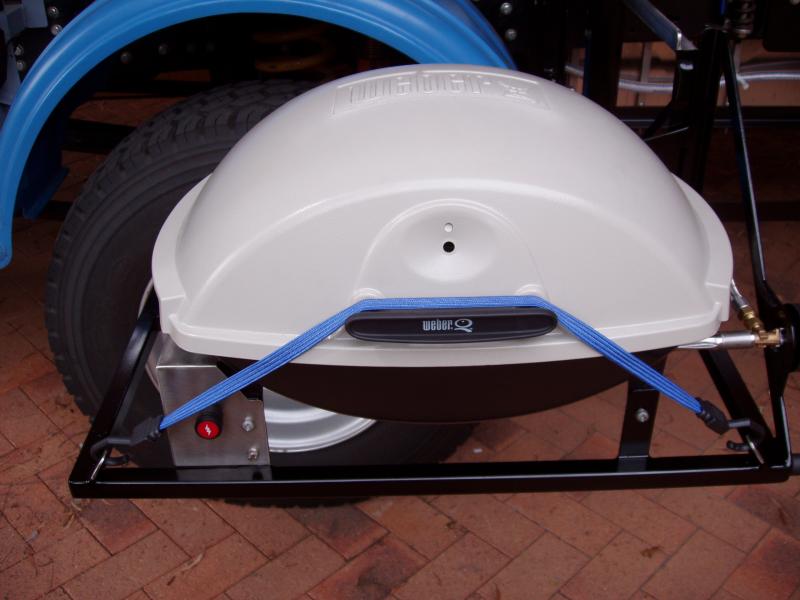
Below are some more images of the completed barbecue installation.