 Click any image to enlarge
It’s taken a long time to get to this point, but finally I am very close to starting work on building my camper body. However, before I can start the body, there’s a few other things I need to do.
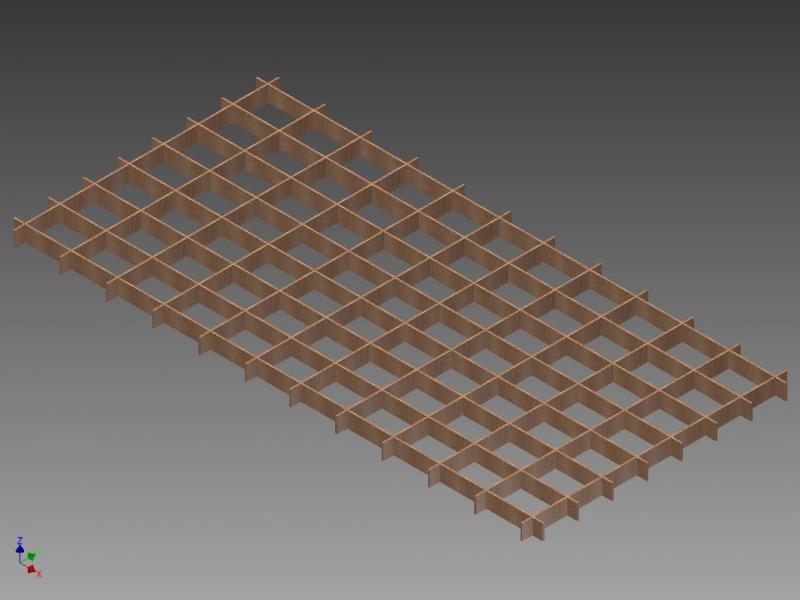
Firstly, I need to make a very flat, 2400mm x 4800mm table as a base for my moulds. The table has to be very solid, as I will be walking on it and I don’t want it to flex much.
I will go into much greater detail in other articles about exactly how the body will be built, but basically I have decided to make one off moulds and do vinylester vacuum infusion over H80 structural PET foam core. This is not a simple option, but my hope is it will deliver a result I am happy with. Time will tell…
Making a sturdy, flat table may sound like a simple task, but let me tell you, it took me nearly a full week to finish this job. One of the reasons it took me this long may have been that I am a Fitter, not a Chippie (carpenter), but none the less, it was a very tedious and time consuming task, as I wanted the table to be solid and as flat as I could make it with the tools I had at hand. The weather did not help much either, as it was in the mid thirties nearly every day, so I can honestly say that a little blood and a whole lot of sweat went into building this table.
Should anyone be interested, it cost about $400 in material and took about 40 hours of labour to complete this project.
Below is a basic step-by-step description of how I built my mould table…
The table took ten 2400mm x 1200mm sheets of 16mm MDF to make. Four sheets for the deck and the rest to build the supporting base. The biggest problem with MDF, in my opinion, is the dust. There is lots of it and it will probably kill you if you don’t wear a mask. As with most things I build these days, I started by drawing everything up in CAD before doing anything.
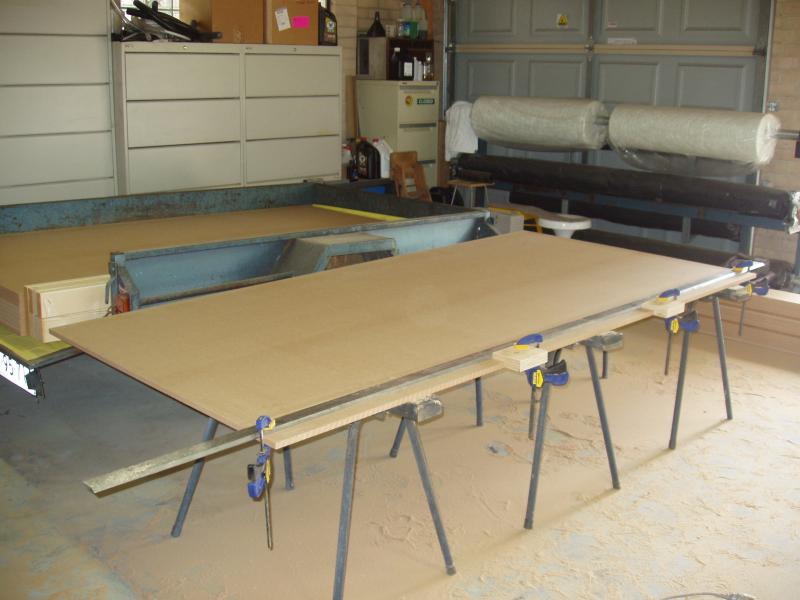
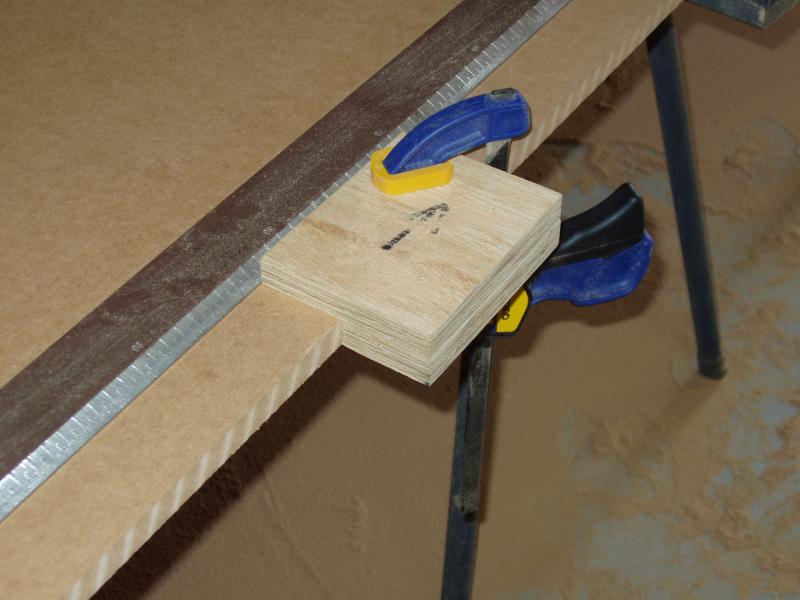
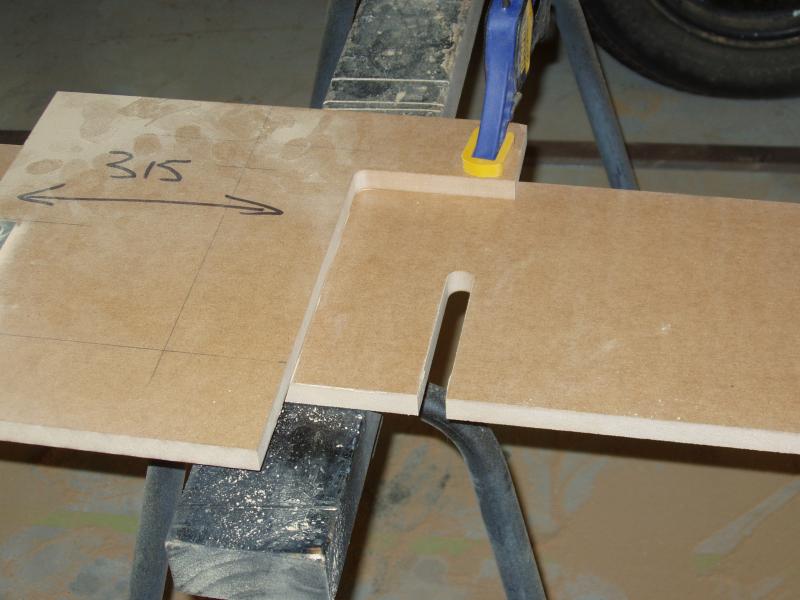
The first task was to cut 30 strips, 200mm wide. These would be used for the base frame. I made a couple of spacer blocks that were used to position my 3 metre engineering straight edge. This ensured that the width of the boards would be as similar as is possible, when cut with a hand held circular saw.
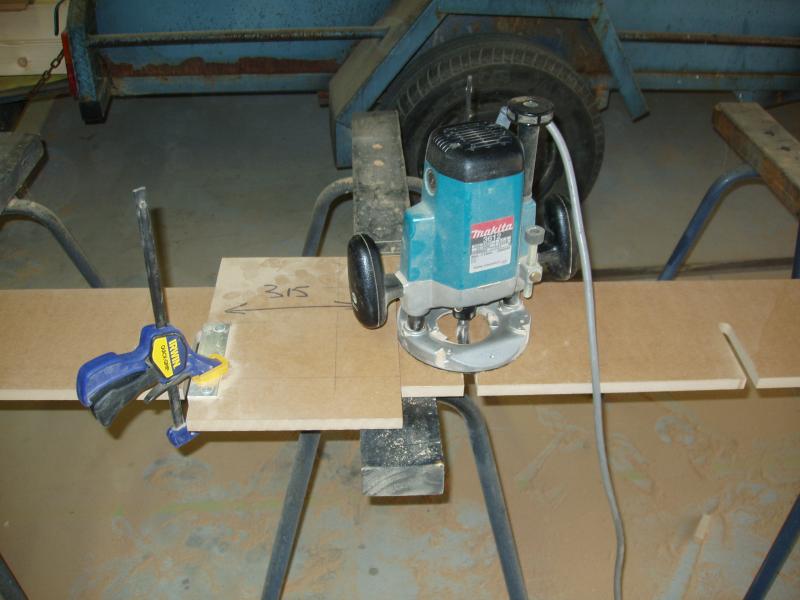
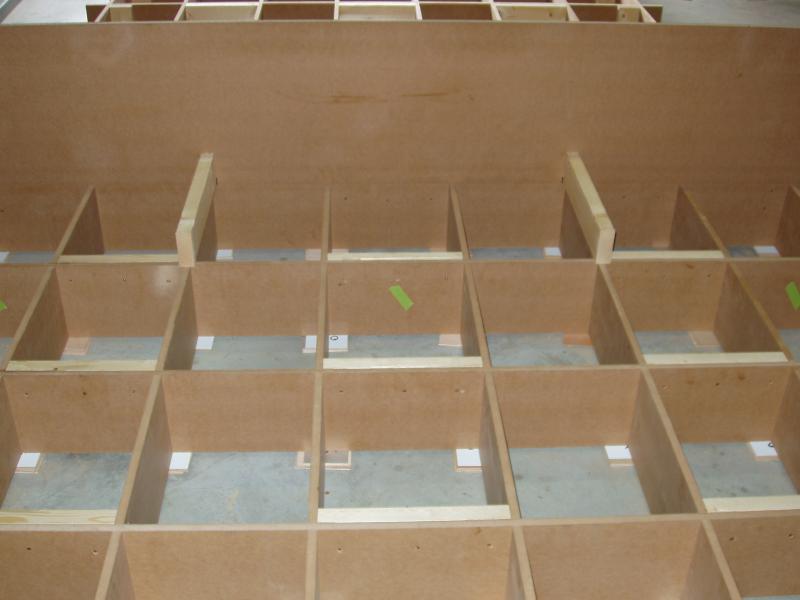
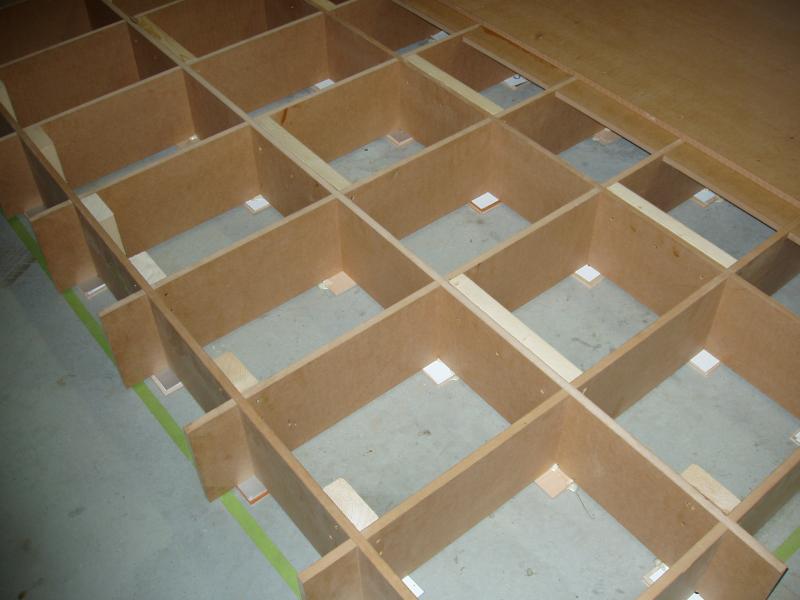
The base section utilises an interlocking slat design, as this adds strength and gives good stability. In order to build the base I needed to route 16mm slots for each joint, about 110mm long. Not being blessed with a CNC routing table, I had to cut each slot manually, which was quite time consuming (96 slots had to be routed). I made three jigs to improve the accuracy and eliminate the need to measure each cut, each jig positioning the slot at different distances.
Eight lots of two slats had to be joined together to make the long sides. This was done by first using the straight edge to line up the two pieces, clamping everything in place, then gluing and screwing a piece of MDF over the joint, between two of the routed slots.
    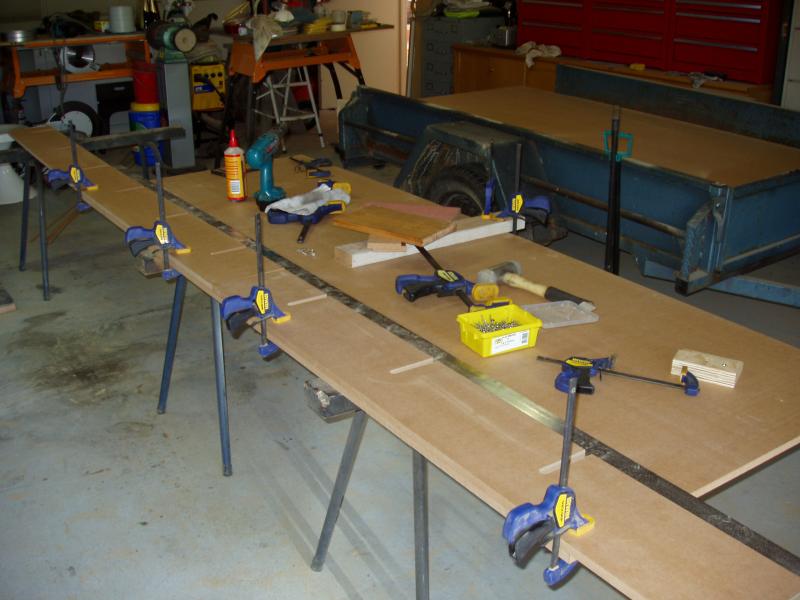   |
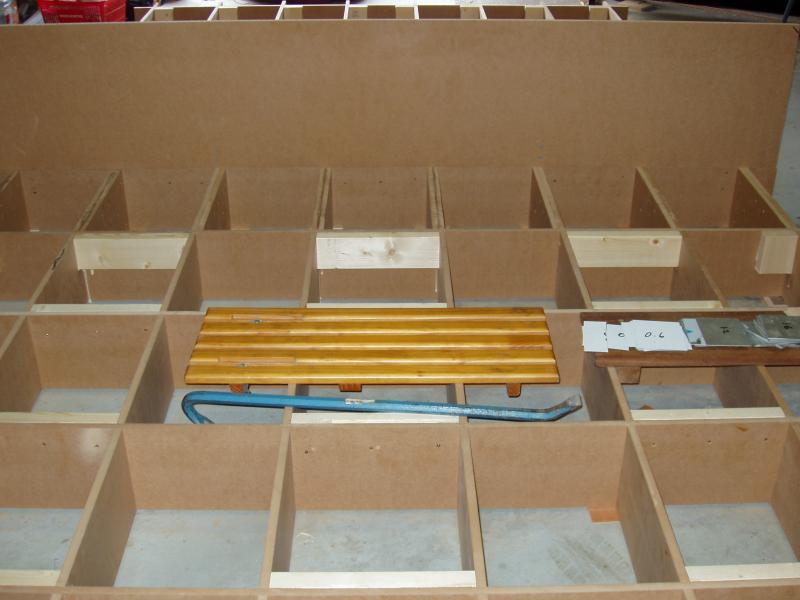
After all of the base slats had been made the frame was assembled on my workshop floor. Previously I had used tape to mark out exactly where the mould table would be positioned, so I just used that as my guide. Some short lengths of 90mm x 35mm timber (standard framing stud timber) were used to stabilise each joint. These were glued and screwed into the corners, ensuring that all of the top surfaces were flush.

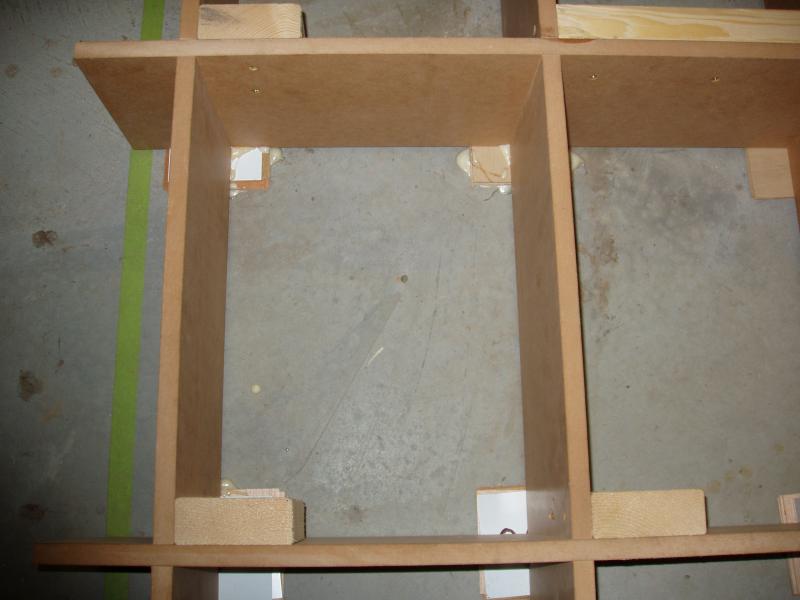
Before I started on this mould table I had made about 200 shims from varying thicknesses of sheet metal and another 200 from 2.5mm ply, as I knew I would probably need a lot of them, given that the concrete floor of my workshop is definitely not as flat as I needed the table to be.
I needed some datums to work from, so I started by using a laser level to get both short ends horizontal.
I probably spent in excess of ten hours shimming the base frame, but as far as I can see, I have achieved an accuracy of better than 1mm over the entire surface, which I am more than happy with.
After the glue had cured and secured the shims it was time to fit the deck.
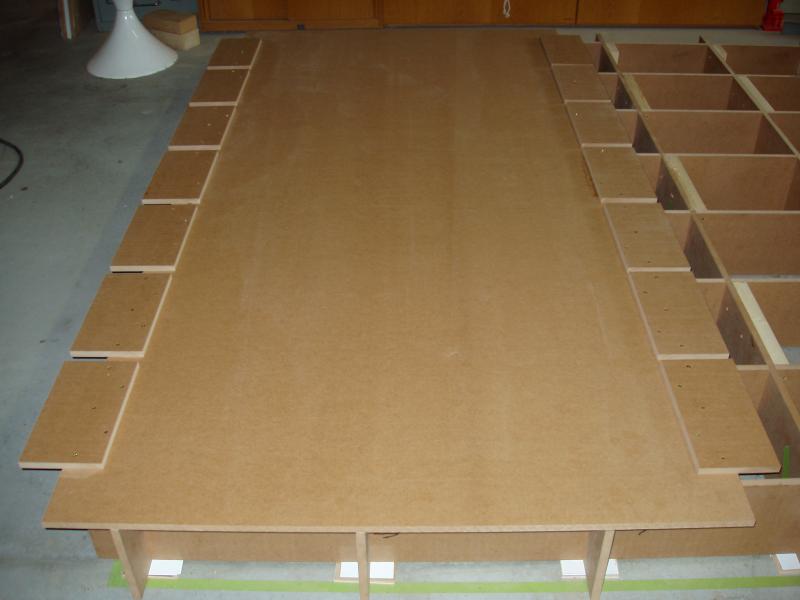

Being fully glued and screwed at every joint, as well as having glue on the cement, shims and base frame, this table is as solid as a rock on the workshop floor. And what’s more… it’s pretty darn flat for something built only using hand tools!