 Click any image to enlarge
I have always been concerned about the weight of my steel super single wheels and tyres, but at the time that I bought my truck these were the only wheels available that were legal for a 6 tonne GVM truck.
My steel super singles were the first generation of rims produced by All Terrain Warriors (ATW) and were DOT rated at 6000Kg each, which was a serious overkill for the truck they were designed to go on. These rims, when fitted with the Toyo M608Z mud terrain light truck tyre weighed in at a whopping 80Kg each, making them quite awkward for me to work with. Alas, until recently these were the only viable legal option.
The second generation of ATW steel super single rims (the ones currently available) are rated at 3000Kg each and are slightly lighter, weighing in at about 76Kg for the wheel/tyre setup. This is still pretty heavy, but they are a little lighter than mine.
In the first quarter of 2015 ATW released an alloy rim that was DOT rated at 3150Kg, making them legal for a truck with a GVM up to 6.5 tonne.
As mentioned, I have always been concerned with the weight of my wheels and I was also mindful that steel wheels can rust quite easily if used on the beach, where salt can attack them. Some might argue that a steel wheel is a better option when it comes to an off-road vehicle, and I wouldn’t argue against that, but for me, having a lighter wheel is more advantageous, even if it is slightly more prone to damage.
When I heard about the impending release of these alloy rims I contacted ATW and discussed the possibility of doing a changeover. We came to an arrangement that I was happy with, so that’s what I did. In fact, my truck was the first to have these new ATW alloy rims fitted.
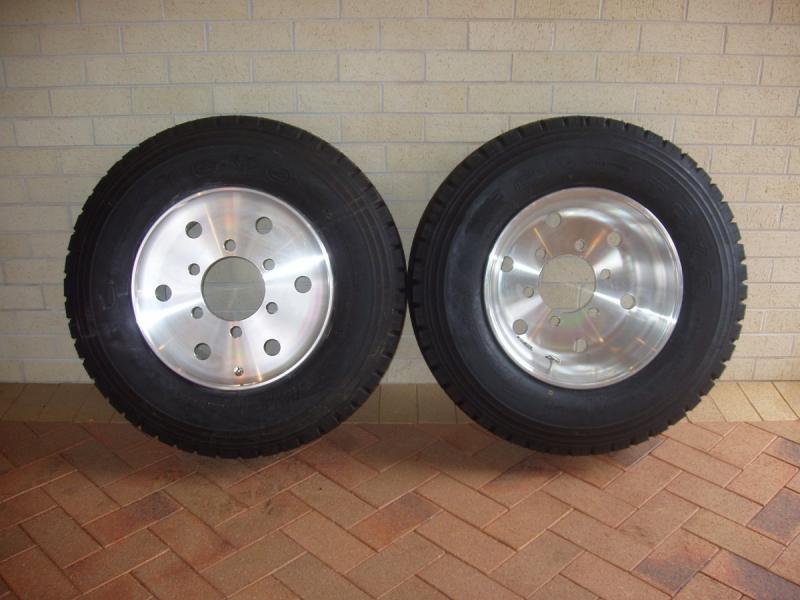

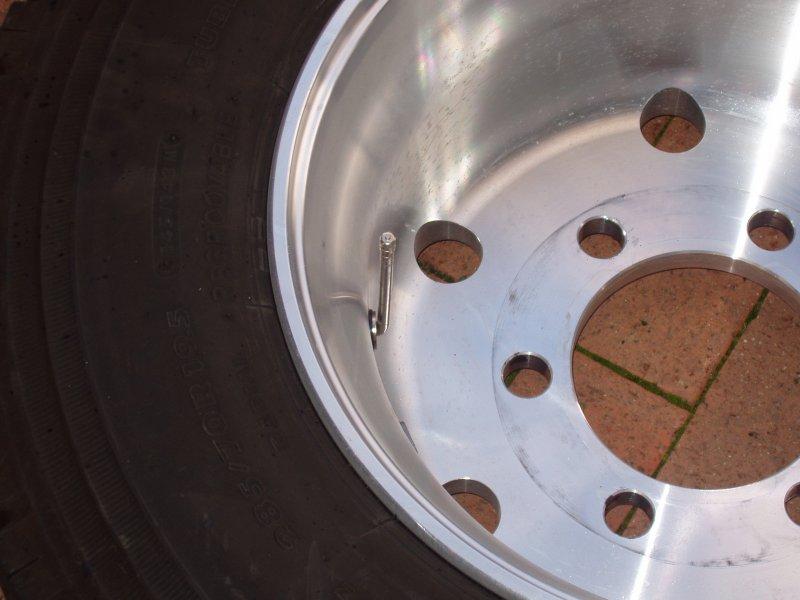
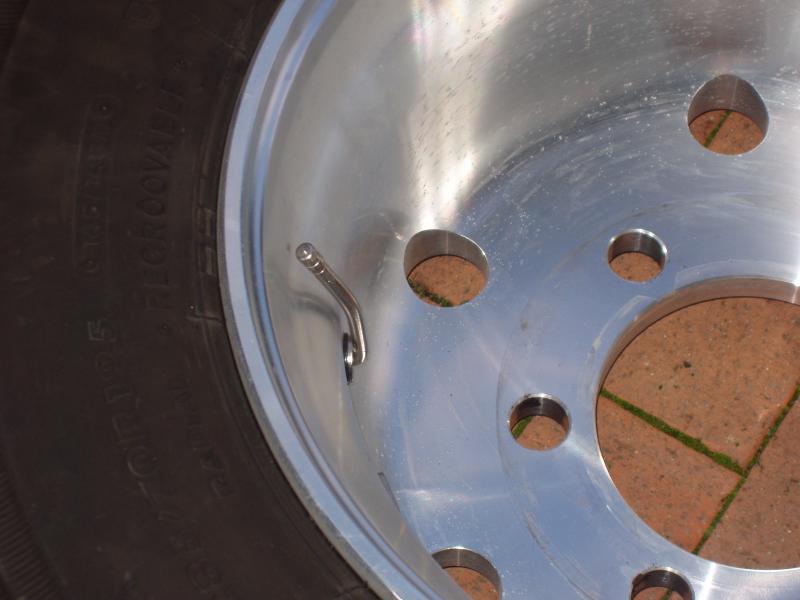
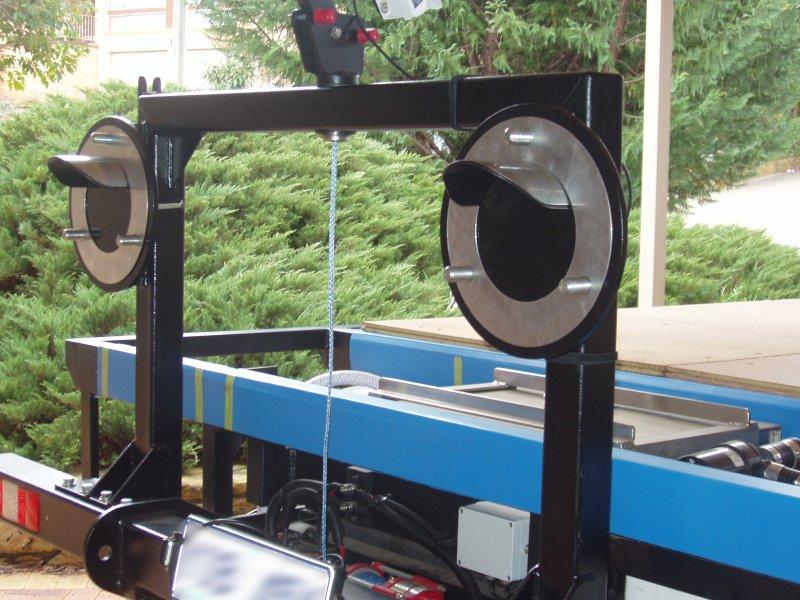
In my opinion, the design of these rims is quite plain, but I don’t mind that. They have a machined finish, opposed to a smooth, polished finish that you would see on many other alloy rims. There are two valve stems per rim, allowing for easy inflation/deflation of the front and rear tyres. When fitted with Toyo M608Z tyres each wheel weighs in at 65Kg, which for me equates to a weight saving of 90Kg for my six wheels.
These alloy rims should be tightened to the same torque as steel rims, that being 490Nm ± 49 (360 ft/lbs ± 36).
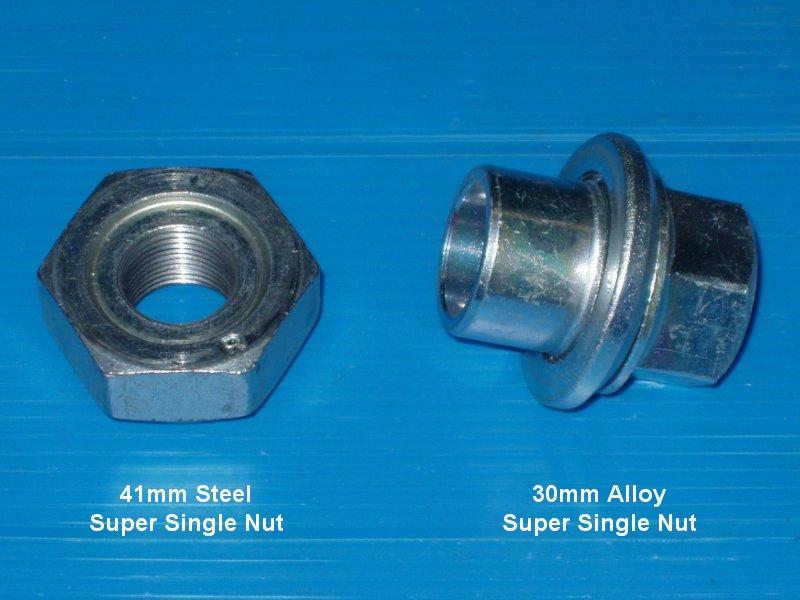
Overall, I do not regret the decision to changeover to these alloy rims but there are a couple of things that I am not 100% happy about, those being the way the rim is centred and the valve stem that has been used on the deep dish side of the rim.
I have had numerous discussions with ATW about these two things and ATW has their opinion and I have mine.
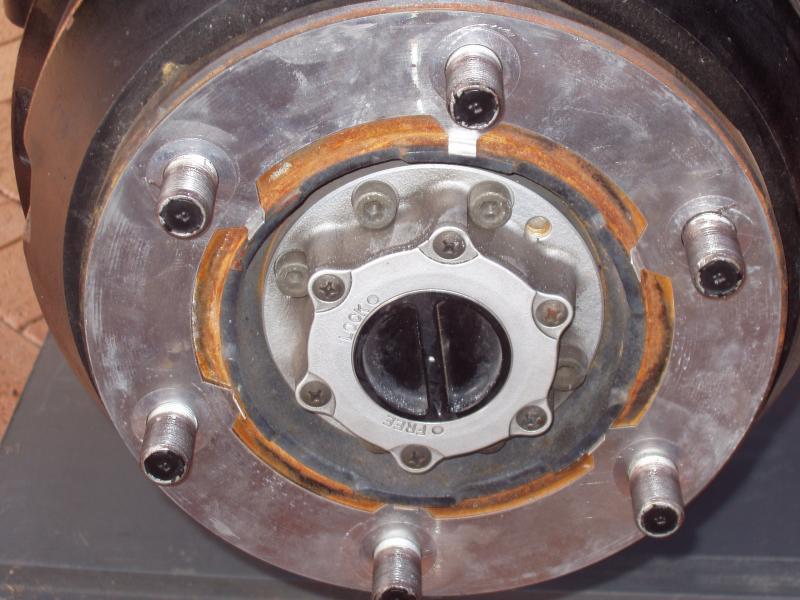
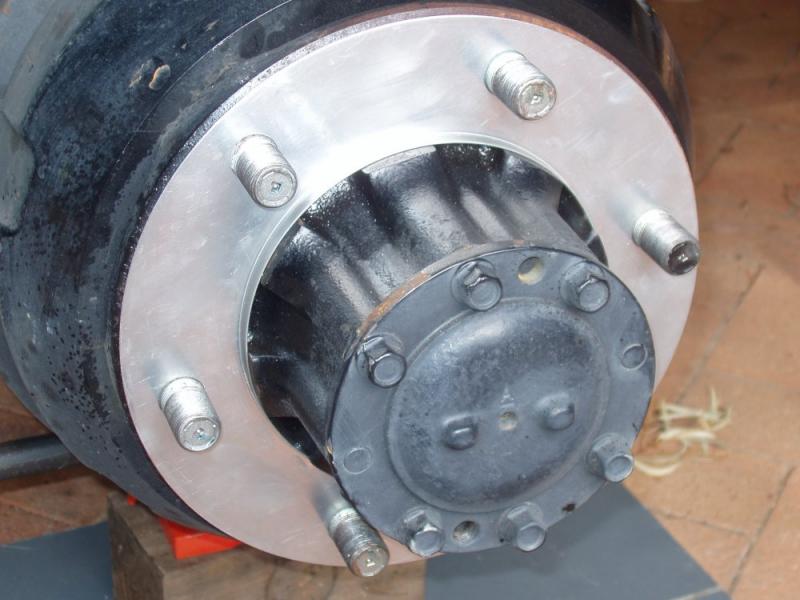
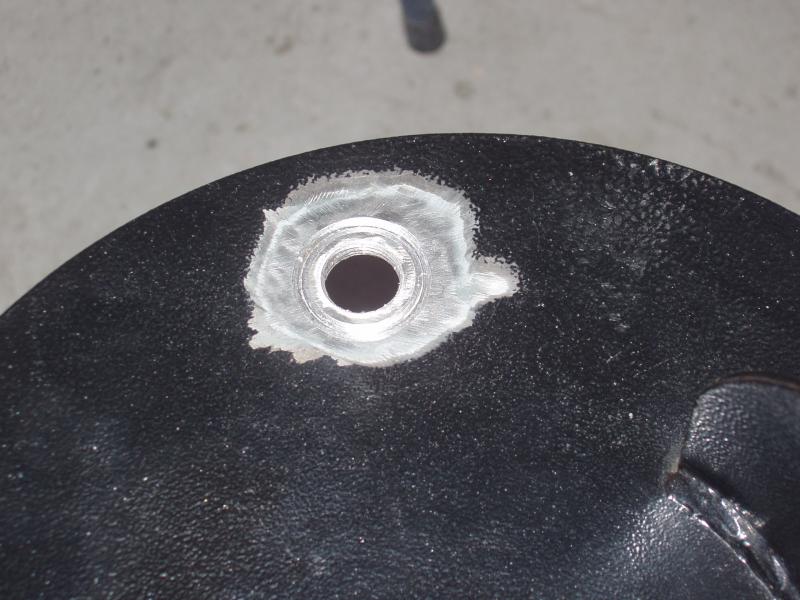
A rim is normally centred in one of two ways; stud centred or hub centred. These rims, by themselves, don’t do either of these and rely on the addition of a “centring shim” to allow centring of the rim off the hub. From a functionality perspective, these shims do work, but they are quite flimsy and mean that you have to be extremely careful when removing or fitting the wheel, or you are likely to damage the shim. The shim does provide a secondary function, that being as a barrier between the drum and rim, which helps stop discolouration of the alloy rim from rust.
In my opinion, the hole in the centre of the alloy rim should be smaller. If this were the case the rim would simply centre directly off the hub, without the need for an additional centring mechanisms.
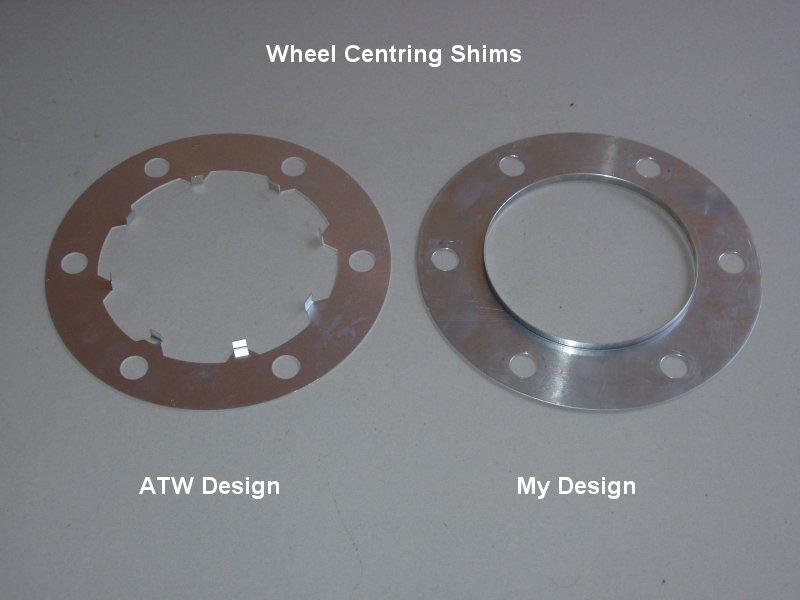
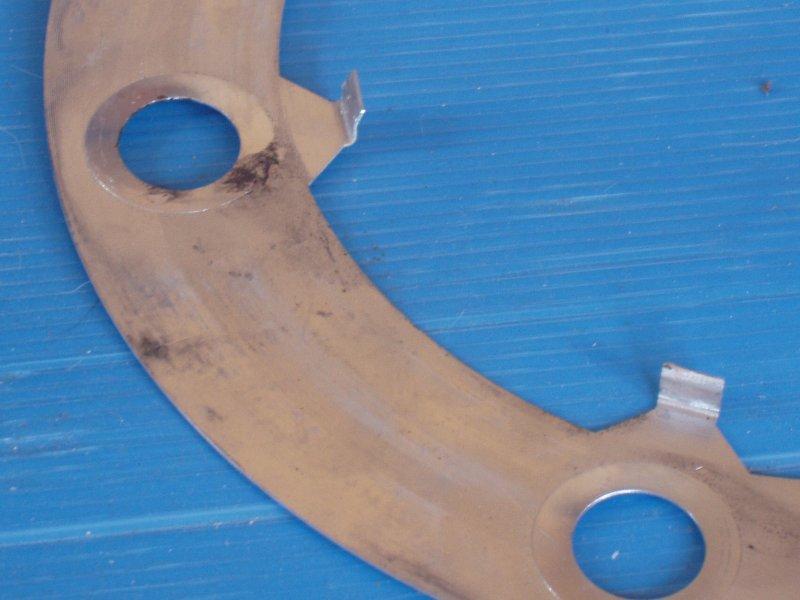
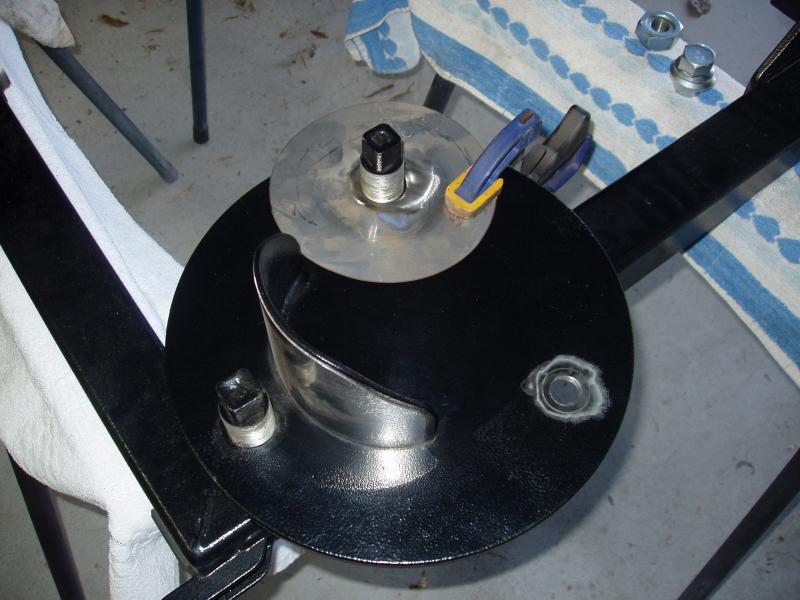
I was not happy with the design of the ATW centring shim, so I designed and manufactured my own that has a full lip, opposed to the small tabs.
Sadly, some things that look simple require quite a bit of engineering to produce. Spinning a lip on an aluminium disk is of one of those things. Two days to make the first shim and 20 minutes for each after that.
When I originally designed and built my spare wheel carrier I utilised dually studs to mount the spare wheels. This was perfectly fine for the steel super singles, but it was no good for the alloy rims. Unfortunately, replacing the welded in M30 dually studs and replacing them with some M20 studs was not the simplest of modifications, but I knew I would have to do this when I decided to change over to the alloys.


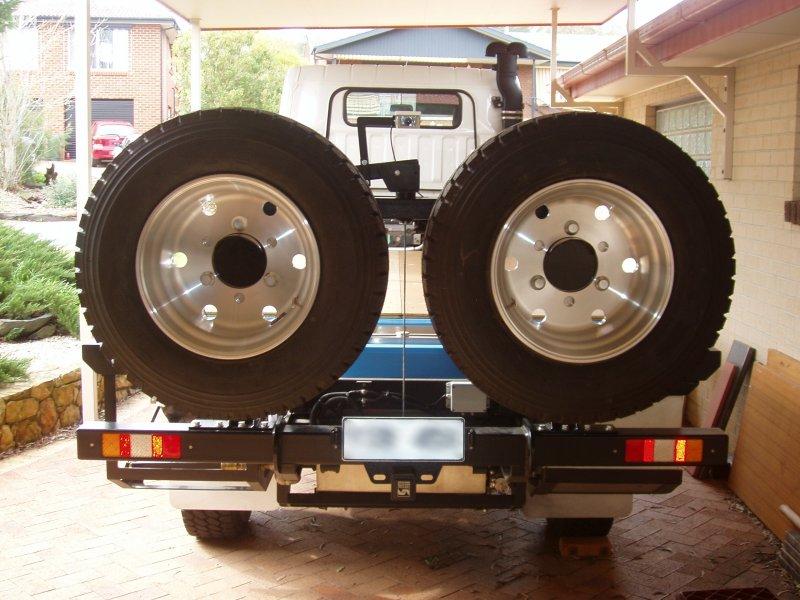
The spare wheels were then refitted, completing the process of changing from steel to alloy super singles.
My Summary…
15Kg may not sound like a lot of weight, but for me it makes a significant difference working with a wheel that weighs 65Kg opposed to one that weighs 80Kg. Getting back 90Kg off my overall weight is nothing to sneeze at either.
Was the changeover from steel to alloy rims worth the effort and cost? Yes, I believe it was.