 Click any image to enlarge
The 2010 Canter’s cab, in its standard factory configuration, has virtually no insulation from heat or noise.
Having said that, the noise level in the cab is not really that bad, but I wouldn’t complain if it were a little quieter. Thermal insulation on the other hand… that is virtually non existent and can definitely be improved upon.
The cab has quite a large expanse of glass but other than tinting the side windows, or using window shades when parked, there is little you can do about reducing any heat entry or loss in that area. The roof lining has a bit of insulation, but not that much. Adding more insulation throughout the cab should significantly reduce heat transfer from the outside.
There are quite a few options available when it comes to sound deadening materials; I chose to use Dynamat Xtreme.
Dynamat seems to be the product that all other sound deadening products compare themselves to; what does that tell you?
Dynamat Xtreme is a patented, light-weight, elastomeric, butyl and aluminum constrained-layer vibrational damper and is said to be the highest efficiency sound deadening material available and the most effective product for stopping noise and vibration.
Some stores in Canberra sell Dynamat, but it was quite a bit cheaper on eBay, which is where I bought it. Delivery only took a couple of days.
Initially I only bought one box (36 sq feet/3.4 sq metres) but ended up getting a second box, in order to do the entire cab.
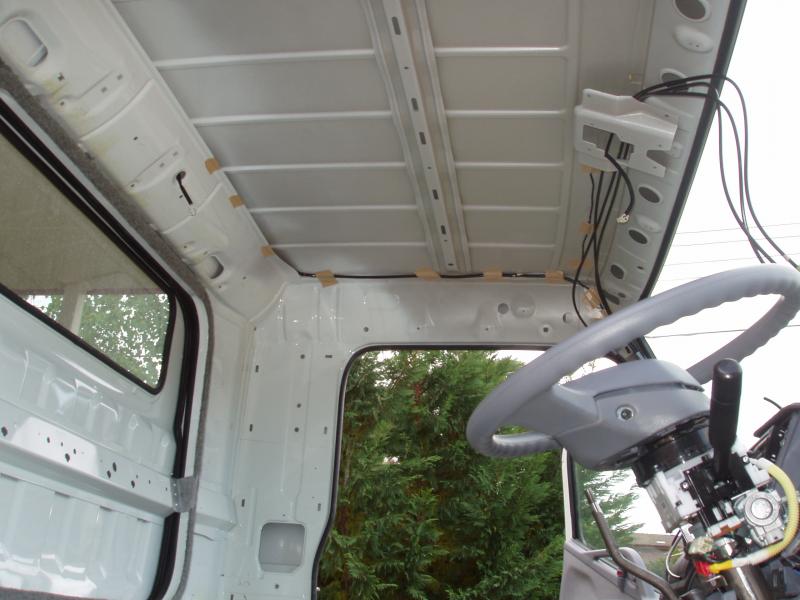
The first step was obviously to strip the cab so that a proper assessment could be made. Pulling all of the trim out is not a complicated task but obviously care should be taken to ensure that none of the trim is damaged during the removal process. In the Canter there are no complicated fixing mechanisms, so no special tools are required and trim removal is a pretty straight forward task. After all of the trim had been removed the seats and the floor mats were taken out, leaving the cab pretty bare. Other than the roof lining itself, and a bit of thin felt matting, there is no other insulation material in the cab

Being a new truck, there was only a minimal amount of panel cleaning required. For the most part, a quick wipe down with thinners was all that was necessary; some panels did not even need that.
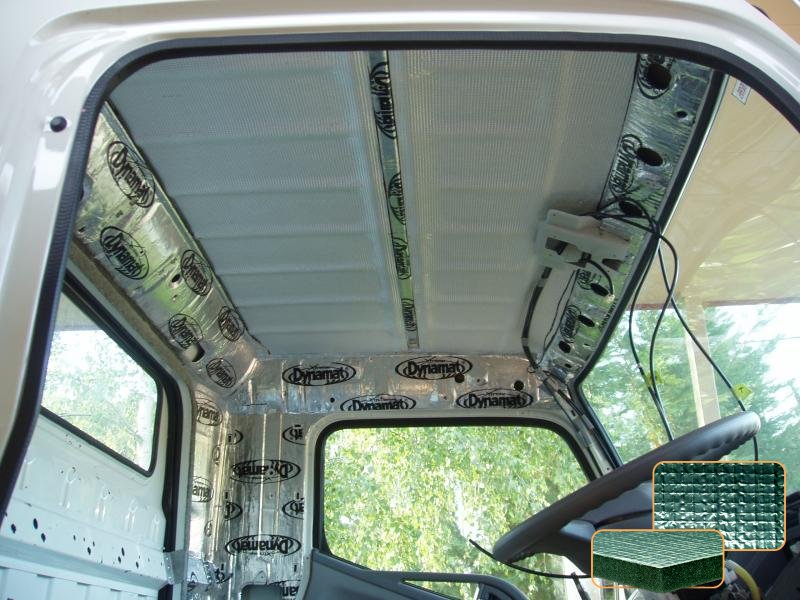
I started applying the Dynamat to the roof, which, as expected, was the hardest area to do; working above your head is never that much fun. Doing the vertical panels was much easier but what I was not expecting was how long it took to install the Dynamat. I thought that it would be a simple one day job, but it did not turn out that way; it took considerably longer.
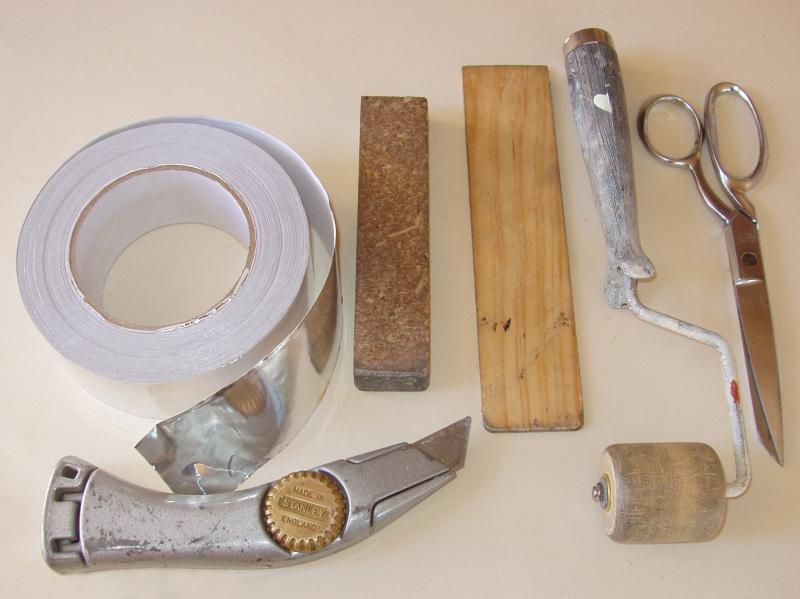
The wooden application roller that I made worked pretty well for the large flat areas but I found that using flat pieces of wood, with the ends rounded off, worked better for getting the Dynamat into the recesses. Definitely not a real technical set of tools, but they worked well and the only cost was the small amount of time it took me to make them. Some 50mm wide aluminium tape, from Jaycar, was used over the joints. I don’t know if this is really necessary, but it does make the job look neater. I did not find any need to use a heat gun, as the Dynamat was easily moulded into the recesses without using one.
With the cab pulled apart there was also another issue that needed to be addressed.
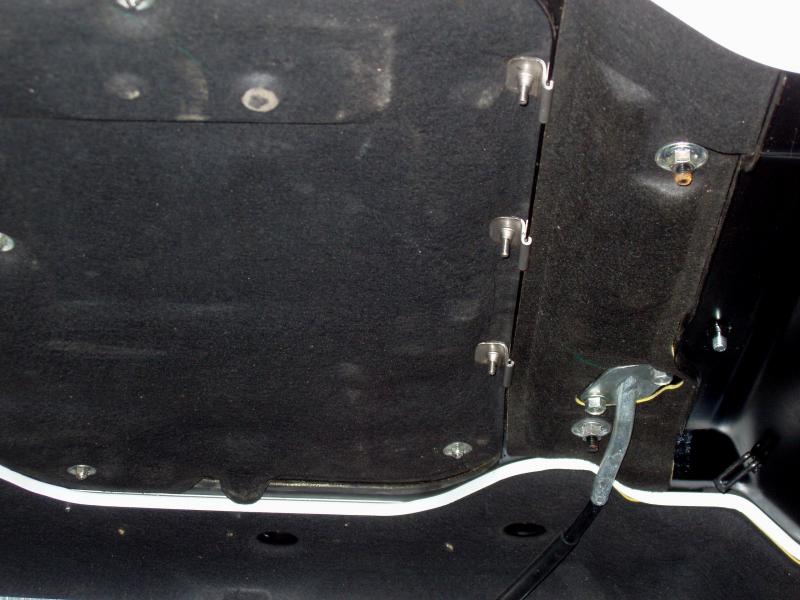
Now that the OEM passenger seat has been replaced with a Stratos suspension seat it is no longer possible to open the engine hatch inside the cab. The original passenger bench seat is mounted to the engine hatch and is secured at the front by two over centre clips. When the clips are undone it is possible to hinge the seat backwards and this opens the engine hatch. The passenger’s Stratos suspension seat mounts however are attached directly to the the cab floor and the seat frame covers a portion of the engine hatch, hindering its ability to be opened.
Given that the engine hatch is now no longer usable, I decided that I may as well secure the hatch in a semi permanent manor. I also wanted to ensure that there was a good seal between the hatch and the cab floor, for obvious reasons.
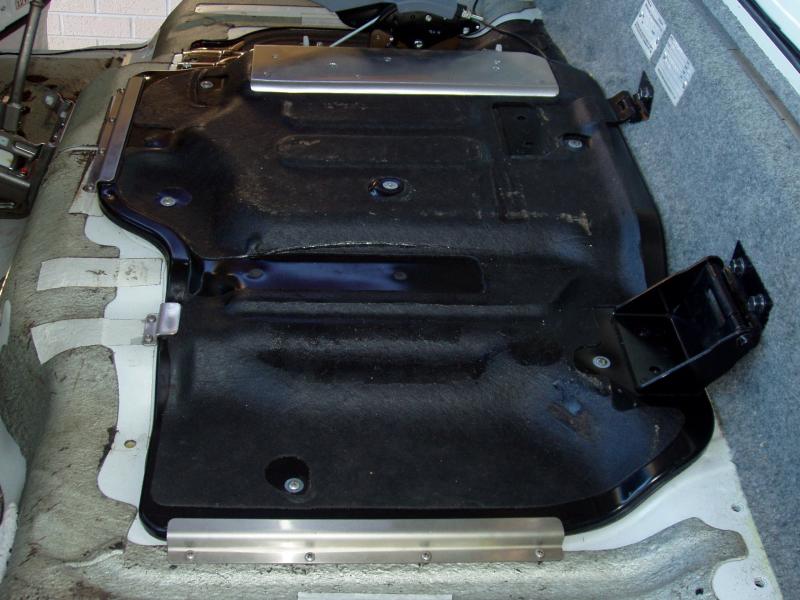
When the Stratos suspension seats were originally fitted by ATW the engine hatch was not secured as well as I would have liked, so I decided to design a better system for holding it down. The other thing I noted was that the engine hatch was extremely weak, only being made from very thin pressed sheet metal. It is obvious that the engine hatch was never designed to be a solid supporting structure by itself; it relied heavily on the bench seat frame to give it some strength. I needed to address that too, given that the hatch is directly in front of the cab pass-thru and would need to be able to support the weight of an adult.
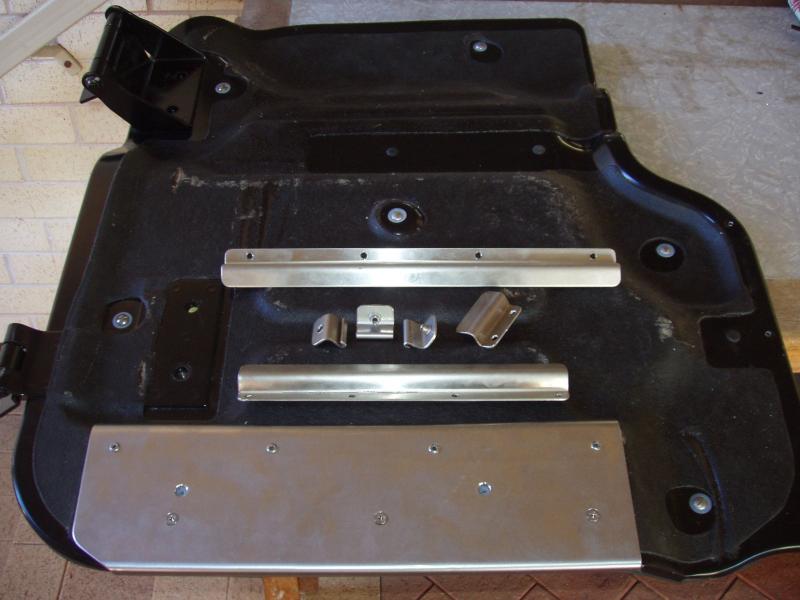
My solution to strengthening the hatch was to attach a piece of 2mm stainless steel sheet, with an 8mm folded lip on each side, over the weakest part of the engine hatch, that being the side near the hand brake. The stainless steel sheet was secured to the hatch with stainless steel pop rivets which did give the hatch significantly more strength. Not strong enough to support my full weight, but it is definitely better.
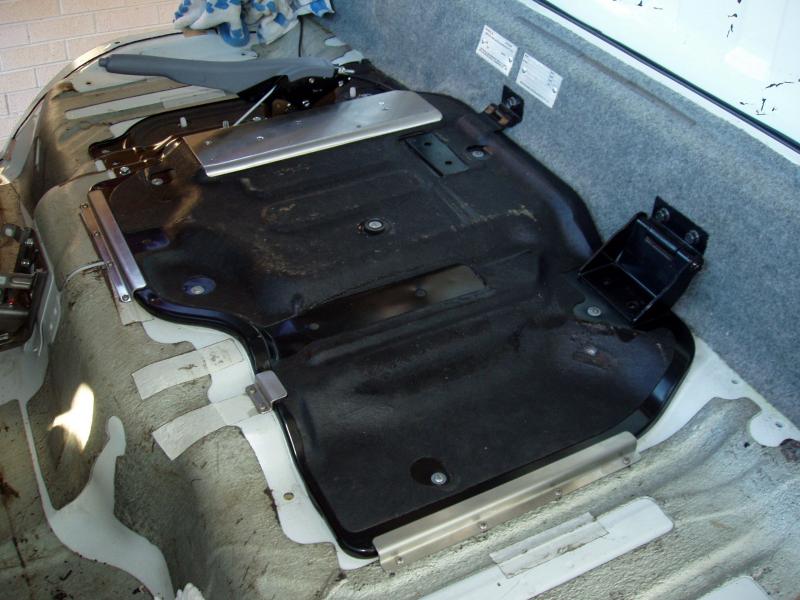
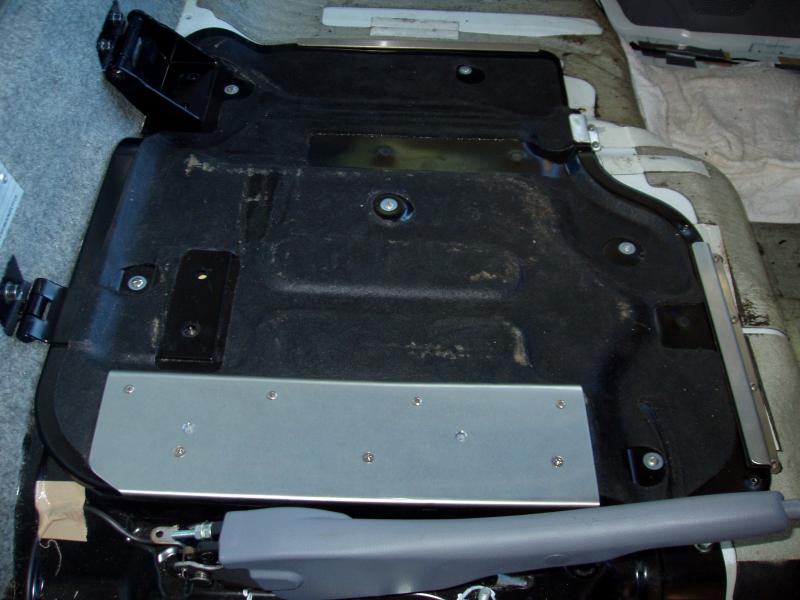
Using some more 2mm stainless steel sheet, I made some Z and hook brackets to secure the engine hatch to the cab floor.
The Z brackets are held down with M5 stainless steel screws using rivnuts (AKA nutserts) fitted into the cab floor. The hook brackets clipped over a lip under the cab and countersunk M5 screws are used to pull the engine hatch tight. Each of the hook brackets has a single M5 rivnut.
With the engine hatch strengthened and secured it was covered with Dynamat to help reduce engine noise transmission.

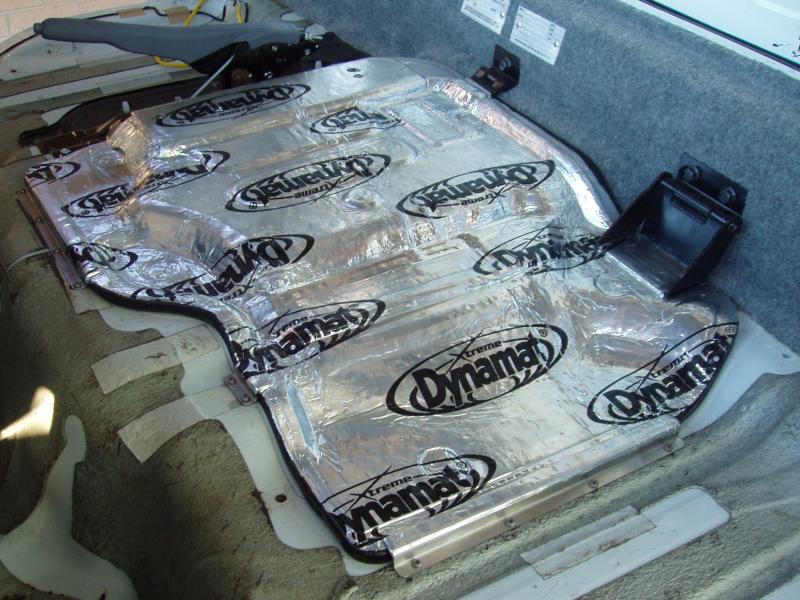


The next thing to do was to cover the floor with Dynamat.
Quite a bit of time and effort was given to get the Dynamat into pretty much every nook and cranny. Rather than working around things, like the handbrake and the accelerator pedal, these items were removed to make laying the Dynamat a bit easier.
As I have mentioned, laying the Dynamat is definitely not technically difficult, but it is very time consuming. Getting it into all of the recesses, getting good adhesion, making sure you don’t get air bubbles and sealing up the edges with aluminium tape takes time; a lot of time. Getting the Dynamat on the floor underneath the dash area was definitely awkward, mainly because of the contortional positions you need to get yourself into to do the job. The transfer case shifter mechanism, being a typical example of something that needed to be worked around. None the less, I was pretty happy with the end result that I achieved.
Given that I wanted to improve the cab’s insulation as much as possible, I also used a product called Formshield on the roof.
Formshield achieves excellent insulation against heat transfer with its low thermal conductivity and its crosslinked cellular structure. 10mm thick FormShield, which is what I used, provides a 90% heat flow reduction and has a wide range of performance from -80°C to 100°C. One side of the foam is covered with a waffle textured aluminium foil, 9.0 microns thick.
The Formshield was cut to size and glued to the Dynamat on the roof using gel contact adhesive. My intention was to put the Formshield on the back wall too, but unfortunately there was not enough clearance between the cab and the trim to do this.
With the Dynamat and Formshield installed the only remaining task was to put the cab back together.