 Click any image to enlarge
With most of the involved work done for the subframe it was now down to finishing everything off.
The first task was to complete the welding of the subframe then design and build the entry area for the camper body and finally, construct the frame to carry the truck battery box.
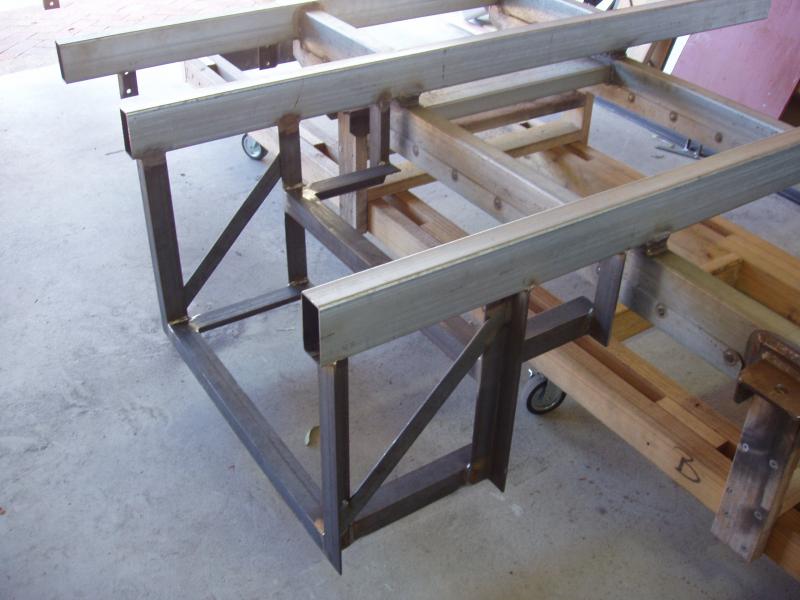
Welding the individual sections of the subframe together on the truck was definitely the right way to go. It ensured that everything was aligned correctly and that it would stay that way.
Those with an eye for detail, would have noticed that two of the cross rails were not welded onto the subframe while it was on the truck.
As I have mentioned previously, when you weld stuff it bends. Unfortunately, there is not a lot you can do about that, so you have to accommodate this into your design, or straighten things after welding. An alternative is to pre bend the steel prior to welding but the major problem with this approach is determining how much to bend the steel.
With the rail closest to the front I would be welding significantly on one side of the RHS and underneath as well, so I needed to offset the bending in two directions because after welding the steel would bend down on each end and to the front. There would also be more bending on one side, given that the steps frame would be welded in that area.
Experience probably helps here as I took a “best guess” approach and it came out near perfect; better than expected I must admit.
Now to the steps… I looked at a few commercial expedition campers to see how they did their entry area.


ATW’s Scout uses a very cool aeroplane style door; a one piece composite construction that doubles as the main door when closed and the entry steps when open. This vehicle too has a relatively low entry height but it is definitely not as bad as the EarthCruiser; it is still a little low for us however.
My design allows for an entry door approximately 1800mm high, negating the need to “duck” under the top of the door.
To achieve this it is necessary to sacrifice a section of camper floor. Two steps are built into the camper body and an additional two retractable steps will be added to give easy access into the vehicle. The plan is to build a fold down section that will cover the step area while we are inside the camper. This will serve two purposes: 1. It will stop us accidentally falling into the step area and 2. We will recover about 80% of the floor space, lost by having steps inside.
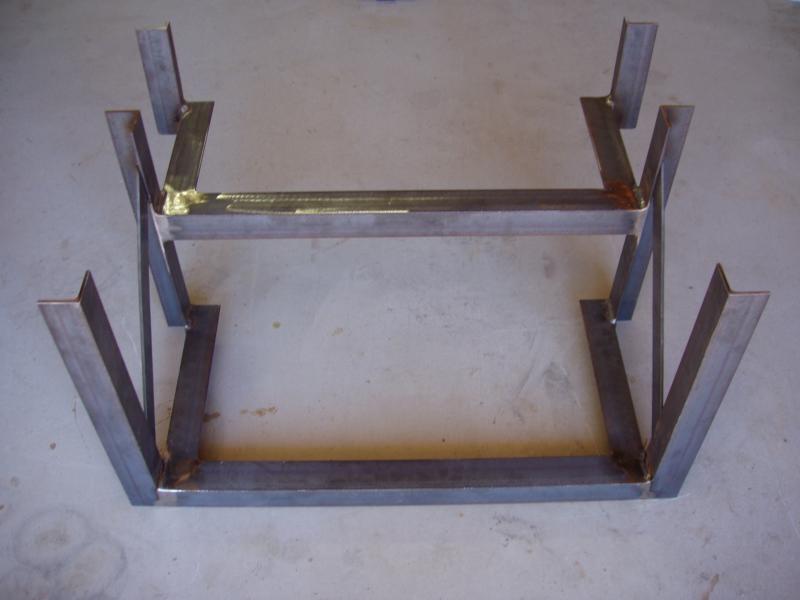
The design of the frame for the steps is quite simple. It consists of 50mm x 5mm angle sections welded directly onto the subframe rails. The tread height is slightly higher than a standard step, being 250mm, and the tread itself is 280mm long, which feels comfortable for going down the stairs.
I made a mock-up prior to doing any fabrication to ensure that this height would not be an issue for Sharon.
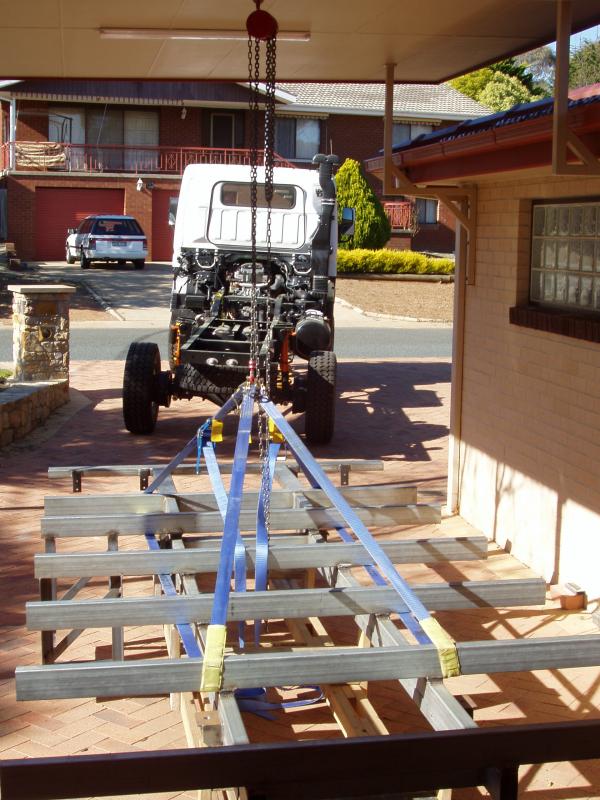
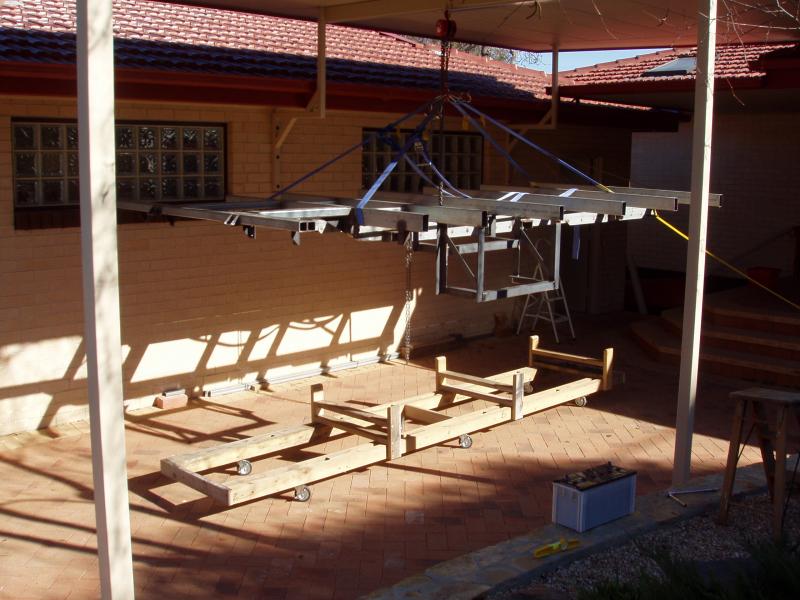
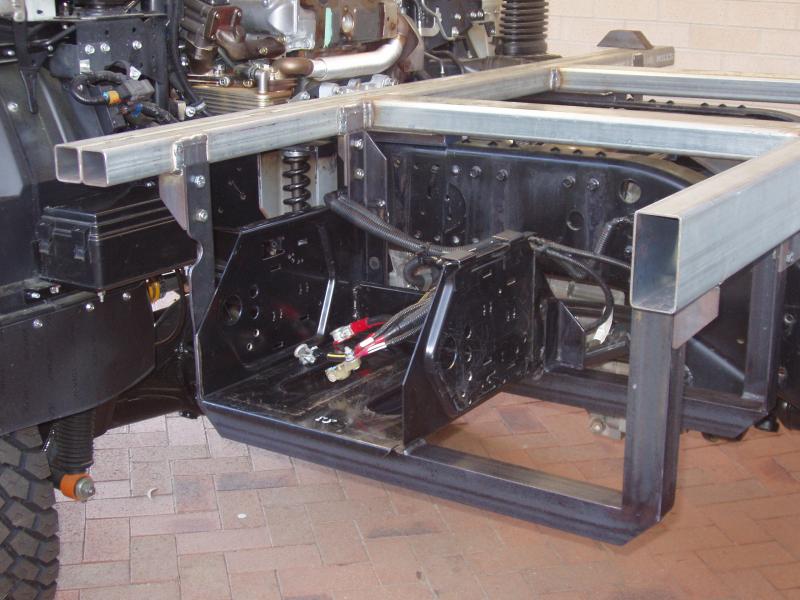
After the steps were welded on it was time to put the subframe back onto the truck.
This was a simple job of driving the truck out from under the carport, wheeling in the subframe on its trolley, lining the subframe up under the lifting eye on the gantry, connecting the lifting straps and raising the subframe with the chain block. With the subframe suspended in the air I removed the trolley, backed the truck in and lowered the subframe onto the mounts. No problems, and I could do it all by myself.

After checking that the subframe still fit on the chassis correctly, which it did, I decided to make another mock-up of the stairs, so that Sharon could do a final functionality test. Both of us are happy that this design will be suitable for our needs.
Building the retractable stairs will likely be a bit of a challenge. What I want is a set of stairs that, when retracted, have the absolute minimum height possible. I have looked at many commercial offerings but none really excite me, so it looks like I will have to come up with my own design. More on that in a future article.
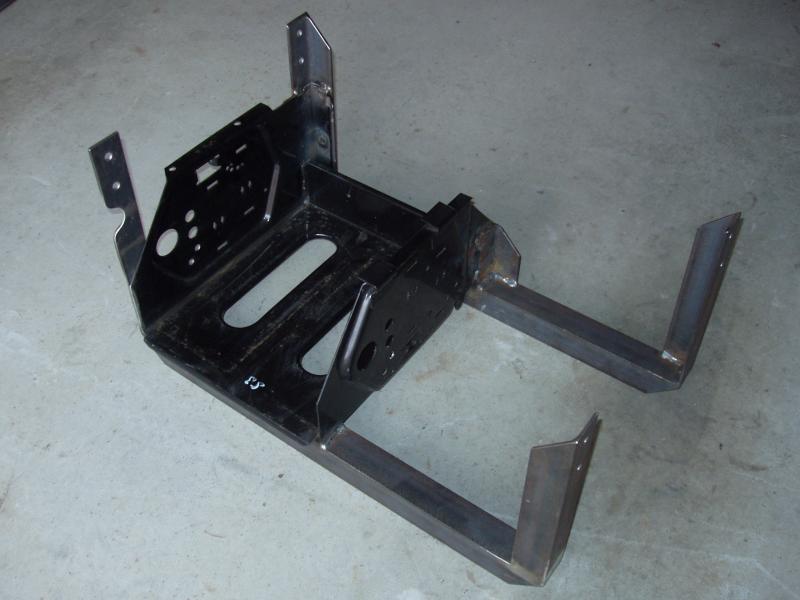
The battery box frame construction is similar to that of the stairs; it too is primarily 50mm x 5mm angle.
One difference is that the battery box frame is not welded directly to the subframe, it is bolted to brackets on the subframe; this makes it easier working with the cables. I used the existing battery box, but cut it up a little to make it more suitable for the new mounting arrangement. The battery box was welded directly to the frame which eliminated the need for additional bracing. After I have registered the truck I will have the battery box/frames hot dip galvanized, as this will be more corrosion resistant than having them painted.
Apart from painting, and maybe the addition of a few more brackets, the subframe build is now complete, finally!